
How To
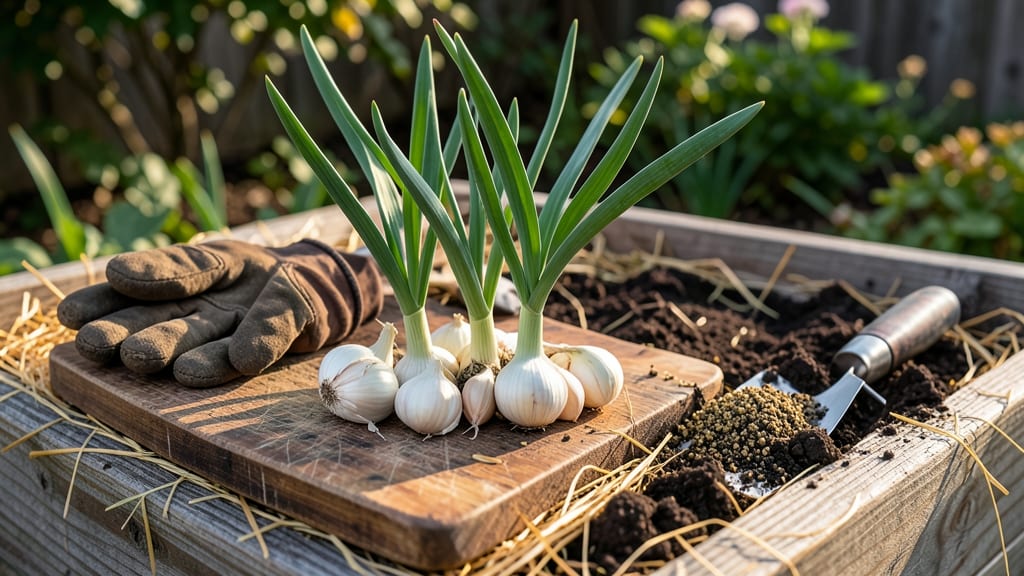
Timing your garlic planting in the fall isn’t just about luck—it’s the key to growing bulbs that are bigger and more flavorful by next summer. Plant too early, and your cloves might rot; too late, and frost could ruin them before they even sprout.
In USDA Zone 6a, that perfect window is just 6-8 weeks before the ground freezes, giving roots time to establish without overheating.
Most gardeners assume fall planting is all about throwing cloves into the dirt and hoping for the best. But the truth is, a few simple steps—like choosing the right soil, spacing, and mulching—can make all the difference between a disappointing harvest and a bumper crop of plump 🧄 bulbs.
If you’ve ever wondered why your garlic struggles to thrive, the answer likely lies in the details of when and how you planted it.
I’ve tested these techniques for years, and what I’m about to share will help you avoid the most common mistakes.
From picking the healthiest cloves to protecting them through winter, you’ll learn exactly how to set your garlic up for success—so you can enjoy fresh, homegrown harvests from late spring through early summer. Let’s get started.
Ready to transform your garden? The best time to plant garlic is now—before the first frost locks the soil. With the right approach, you’ll be harvesting juicy, robust bulbs in just 6 months, all thanks to a little fall planning. Here’s how to do it right.
The exact fall planting window for garlic by US growing Zones
Timing your garlic planting is everything—plant too early, and your cloves may sprout and freeze before winter. Plant too late, and they won’t establish strong roots before the ground freezes.
The ideal window is 6-8 weeks before your first frost, but this varies wildly across the U.S. For example, in Zone 3, aim for early September, while in Zone 10, late November works best.
Most gardeners rely on the USDA Plant Hardiness Zone Map to estimate frost dates, but local microclimates (like urban heat islands or coastal moderation) can shift your ideal planting date by 2-4 weeks.
Check your last average frost date—this is your anchor. For instance, if your first frost is November 15, plant garlic by early to mid-September.
Hardneck varieties (like Rocky Mountain or German White) thrive in colder climates (Zones 3-7) and need a cold period to form bulbs. Softneck varieties (such as Artichoke or Silverskin) prefer milder winters (Zones 5-10) and can handle later planting. Always adjust for your local frost history, not just the zone average.
🌱
| USDA Zone | Ideal Planting Month | Soil Temp Goal (°F) | Variety Recommendation |
|---|---|---|---|
| 3-4 (Cold Climates) | Early September | 50-60°F | Hardneck (e.g., Music, Chesnok Red) |
| 5-6 (Northern Temperate) | Mid-September | 55-65°F | Hardneck or Softneck |
| 7-8 (Moderate) | Late September-October | 60-70°F | Softneck (e.g., California Early) |
| 9-10 (Mild Winters) | November (early) | 65-75°F | Softneck or Elephant Garlic |
Note: Adjust for early frost years by planting 2 weeks earlier.
In coastal regions (like the Pacific Northwest), winters are milder, so you can plant garlic as late as early December. Conversely, in inland areas (e.g., Colorado or Utah), frost can arrive earlier, so late August to early September is safer.
Always monitor soil temperatures—garlic roots need 40-50°F soil to establish before winter sets in.
If you’re unsure about your frost date, use a local weather app or ask your county extension office for historical data. For example, in Zone 5, where I garden, I’ve learned to plant by October 1 to avoid early November freezes that can damage young shoots.
One common mistake is planting garlic too close to frost. If your soil is still warm (above 60°F) when you plant, cloves may sprout too soon and get fried by early cold snaps. Aim for soil temps between 40-60°F at planting time—this ensures steady root growth without premature sprouting.
🌡️
Regional adjustments matter too. In the Deep South (Zones 8-10), garlic can even be planted in winter months if you’re growing softneck varieties. In contrast, northern gardeners (Zones 3-4) should prioritize hardneck garlic, which handles colder winters better.
Always choose locally adapted varieties—ask fellow gardeners or check seed catalogs for region-specific recommendations.
Finally, don’t stress if you miss the ideal window. Garlic planted up to 2 weeks before the first hard frost can still survive with proper mulching. Just be prepared for smaller bulbs if roots didn’t establish fully.
The key is consistency: plant at the same time each year to build soil health and bulb size over time.
Step-by-step fall garlic planting guide: soil to spacing
Once you’ve nailed down your fall planting window, the next step is preparing your garden for garlic’s success. Start by choosing a sunny, well-draining spot—garlic hates soggy roots. If your soil is heavy clay, mix in 2-3 inches of compost or aged manure to improve drainage and fertility.
For sandy soil, add a thin layer of organic matter to retain moisture.
Before planting, break apart garlic bulbs into individual cloves, ensuring each has a small piece of the papery skin attached. The pointed end should always face upward—this is where the shoot will emerge.
Discard any soft, shriveled, or moldy cloves, as they won’t thrive. For best results, use certified organic garlic or disease-free bulbs from a trusted supplier.
🌱 Step-by-Step Planting Guide
- 1. Soil Prep: Loosen soil to 12 inches deep and amend with compost. Aim for a pH of 6.0–7.0—garlic prefers slightly acidic to neutral soil.
- 2. Planting Depth: Dig holes 2 inches deeper than the clove’s height (typically 4 inches deep). Space rows 12 inches apart for easy access.
- 3. Spacing: Place cloves 6 inches apart in rows. Overcrowding leads to smaller bulbs and increased disease risk.
- 4. Mulch Immediately: Cover planted cloves with 4–6 inches of straw or leaves to insulate roots and retain moisture.
- 5. Water Lightly: Give soil a gentle watering to settle cloves, then reduce watering until spring shoots appear.
One common mistake is planting garlic too deep or too shallow. If buried too deep (5+ inches), cloves may rot before sprouting. If too shallow (1–2 inches), they’ll dry out or heave from freeze-thaw cycles.
For clay soil, plant on raised beds or mounds to prevent waterlogging. In sandy soil, add a thin layer of mulch to help retain moisture.
After planting, resist the urge to fertilize—garlic needs time to establish roots before spring growth. Instead, focus on mulching. Straw is ideal because it insulates roots while allowing airflow, reducing rot risk. Avoid using grass clippings or fresh manure, as they can overheat the soil or introduce weeds.
In warmer climates (Zones 8–10), use a thicker mulch layer (6+ inches) to protect cloves from heat stress.
Label your garlic rows immediately—by spring, you’ll forget which variety you planted! Use biodegradable plant markers or a simple stick with the name written in pencil. This is especially helpful if you’re growing multiple varieties, like hardneck vs. softneck garlic, which have different harvest times and uses.
Finally, monitor your garden for voles or rodents, which may dig up newly planted cloves. If you notice disturbed soil, set traps or repellents before winter sets in. With proper spacing and care, your garlic will emerge strong and healthy next spring, ready for a bountiful harvest.