Plants
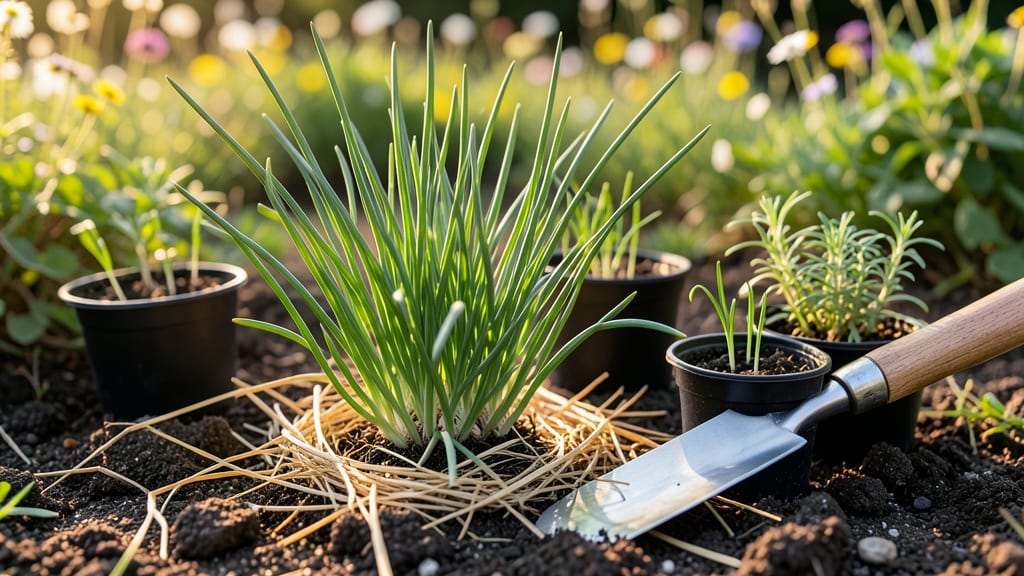
Optimal Texas chive planting times by region: fall vs. early spring breakdown
Texas’ diverse climate—from North Texas’ cooler winters to South Texas’ sweltering summers—means chive planting windows shift dramatically by region. In USDA zones 8a-10a, timing your chives for fall or early spring ensures robust growth and avoids the pitfalls of bolting or stunted harvests.
Let’s break down the perfect planting months for each Texas region to maximize your chive yield.
For North Texas (zones 8a-8b), where last frosts linger until mid-January, the ideal fall planting window stretches from September 15 to November 1. This gives chives time to establish roots before winter dormancy.
Meanwhile, South Texas (zones 9b-10a) gardeners should plant in September-October to avoid summer heat stress, while Central Texas (zones 8a-9a) thrives with October-November plantings.
Spring planting in Texas is equally critical. North Texas can start as early as February 15, while Central and South Texas should wait until March 1 to sidestep early heat waves. Miss these windows, and your chives may bolt prematurely or struggle to mature before summer’s intensity.
🌱
🌱 Texas Chive Planting Guide by Region
| Region | USDA Zone | Fall Planting Window | Spring Planting Window | Key Consideration |
|---|---|---|---|---|
| North Texas | 8a-8b | Sep 15 - Nov 1 | Feb 15 - Mar 15 | Cool winters; avoid late frosts |
| Central Texas | 8a-9a | Oct 1 - Nov 15 | Mar 1 - Mar 15 | Extreme heat; plant early |
| South Texas | 9b-10a | Sep 1 - Oct 15 | Mar 1 - Apr 1 | Humid summers; avoid waterlogging |
Preparing your soil is just as critical as timing. Chives prefer well-draining, slightly acidic soil (pH 6.0-7.0). In Texas’ heavy clay soils, amend with compost or aged manure before planting to improve aeration.
For container gardening, use a lightweight potting mix with perlite to prevent root rot—a common issue in South Texas’ humid climate.
After planting, focus on consistent moisture without soggy soil. In North Texas, mulch with straw to insulate roots during winter, while South Texas gardeners should use straw or pine needles to retain moisture and deter weeds.
Adjust watering based on your region: North Texas needs weekly watering, while South Texas may require bi-weekly deep watering to combat drought.
Harvesting begins 60-75 days after planting, but Texas gardeners can extend their season by succession planting. For example, plant a second batch in late February (North Texas) or early April (South Texas) to ensure a continuous supply.
This strategy works especially well for fall-planted chives, which often bolt in spring—staggered plantings keep your kitchen stocked year-round.
🌿
Pro tip: Mark your calendar for local frost dates—North Texas’ last frost (around January 15) signals the end of winter dormancy, while South Texas rarely sees frost. Use these dates to adjust your planting schedule.
For instance, if you’re in Austin (zone 8b), aim for October 15 fall plantings and March 1 spring plantings to align with your microclimate.
By mastering these regional planting windows, you’ll avoid the two biggest Texas chive mistakes: planting too early (risking bolting) or too late (limiting harvests). With the right timing, your chives will thrive year-round, even in the Lone Star State’s harshest conditions.
How to extend chive harvests in Texas heat: mulching, watering, and succession planting tips
Texas summers are notorious for turning chives into heat-stressed survivors rather than thriving herbs. The key to beating the 100°F+ temperatures lies in strategic mulching and smart watering schedules.
I’ve found that organic mulches like straw or shredded leaves keep roots 5-10°F cooler while locking in moisture—critical when rainfall becomes scarce. Even in South Texas humidity, proper mulching prevents soil-borne diseases that can wipe out your chives in weeks.
For continuous harvests, I swear by succession planting. Instead of one big fall planting, I stagger chives every 4-6 weeks from September through November. This ensures fresh growth when earlier batches bolt from heat stress.
In North Texas, where winters dip below freezing, I plant a final batch in February to bridge the gap until spring harvests begin in March.
Fall vs. Spring Planting in Texas
- ✅ Cooler roots before winter
- ✅ Early spring harvest (March)
- ✅ Bolting protection from mulch
- ⚠️ Heat stress risk if planted late
- ⚠️ Slower growth in summer
- ✅ Longer fall harvest if shaded
- 💧 Morning only (prevents fungus)
- 💧 Deep soak (1-2 inches/week)
- 💧 Drip irrigation (avoids leaf burn)
- 🌿 Straw or leaves (2-3 inches)
- 🌿 Reflects heat (light-colored mulch)
- 🌿 Reapply every 6 weeks
My #1 tip for Texas chives? Drip irrigation with a timer set for 6 AM daily. This mimics natural rainfall patterns while avoiding the fungal risks of evening watering. I’ve seen chives in Central Texas survive 110°F days with this method—something impossible with overhead sprinklers.
Pair that with a 3-inch layer of straw mulch, and you’ll have chives producing year-round in even the hottest zones.
One common mistake I see? Gardeners assume chives are drought-proof once established. While they’re more tolerant than most herbs, deep drought causes leaves to turn brittle and yellow.
In West Texas, I’ve had to hand-water during 105°F+ stretches to prevent permanent damage. A simple soil moisture sensor ($15 at garden centers) saves hours of guesswork.
For container growers, I recommend self-watering pots with coco coir liners. These keep roots consistently moist without the risk of overwatering—a major issue in humid South Texas.
I’ve grown chives on my balcony in Houston all summer using this setup, harvesting every 3 weeks without bolting. The secret? Partial shade cloth (30-50%) during peak afternoon sun.
Remember: Texas chives thrive on routine. Stick to a weekly mulch check, bi-weekly fertilizing (with fish emulsion in summer), and succession plantings every 6 weeks. With these adjustments, you’ll enjoy fresh chives from March through November—even in the hottest parts of the state. 🌱